How to bend a three-point saddle in EMT
How to bend · Published November 8, 2026
Center mark to each outer mark
5″
A 2 inch saddle with a 45° center bend on a Klein 56204, 3/4 inch EMT.
Your own marks
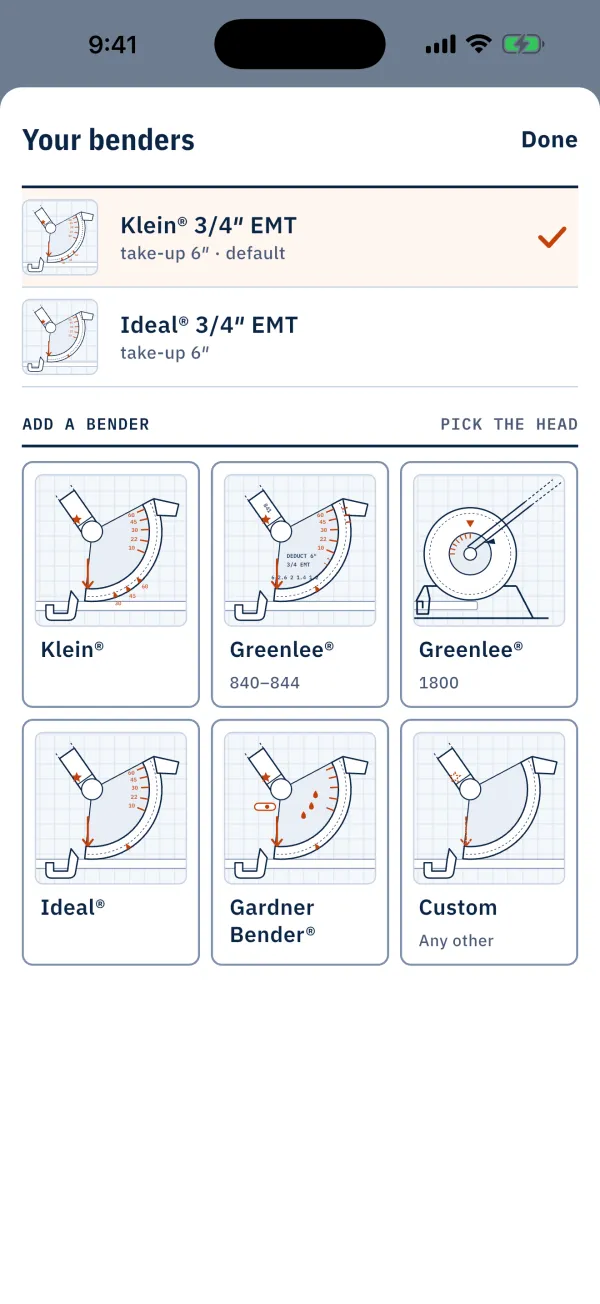
Bendbook draws every mark for the bender in your hand, numbered in bending order. Offline.
A three-point saddle takes a run of conduit over a pipe or another obstruction. You bend a 45° center bend first, then a 22-1/2° bend on each side of it, the other way. The center mark goes over the obstruction, moved a little past the spot you measured, and the two outer marks sit the same distance either side of it.
The worked example
This example crosses a pipe that stands 2 inches proud of the surface, with 3/4 inch EMT on a Klein 56204. The center of the pipe is 24 inches from the end of the stick.
- Obstacle height
- 2″
- Center bend angle
- 45°
- Distance to the center of the obstacle
- 24″
| Mark | From the end | Line up with | Bend | Direction |
|---|---|---|---|---|
| 1 | 24-3/8″ | Rim notch | 45° | First bend |
| 2 | 19-3/8″ | Arrow | 22-1/2° | Roll the conduit 180° |
| 3 | 29-3/8″ | Arrow | 22-1/2° | Same way as bend 2 |
- Multiplier for the outer marks
- 2.5
- Shrink per inch of saddle height
- 3/16″
- Shrink, added to the center distance
- 3/8″
- Center mark to each outer mark
- 5″
Calculate this bend in Bendbook. Pick your bender, type your measurements, and every mark is drawn on the stick for you.
The center mark is not at the 24 inches you measured. The saddle pulls the stick in as it bends, so the center mark moves away from the end by the shrink. Mark the stick where the table puts the center mark, or the hump lands short of the pipe.
Steps
- Measure from the end of the stick to the center of the obstruction. This is your center distance.
- Measure the height of the obstruction. This is your saddle height.
- Work out the center mark. For a 45° center bend, the shrink is 3/16″ for every inch of saddle height. Add it to your center distance and mark the stick there, measured from the same end.
- Work out the outer marks. Each one sits 2.5 × the saddle height from the center mark. Mark one on each side.
- Line the center mark up with the rim notch on the head and bend 45°.
- Take the stick out and roll it 180°, so the center bend points the other way. Keep it in the same plane.
- Slide the stick to the outer mark nearest the end you measured from. Line it up with the arrow and bend 22-1/2°.
- Take the stick out and turn it end for end, so the center bend sits on the same side of the head as it did for the last bend. Keep the center bend pointing the same way.
- Line the last mark up with the arrow and bend 22-1/2°.
- Lay the stick on the floor and check that all three bends sit flat in one plane. Hold it up to the obstruction before you fasten it.
Mistakes that cost a stick
- Marking at the measured center. Add the shrink first. Without it the saddle sits short of the pipe.
- Measuring from the wrong end. All three marks come from the same end of the stick. Pick the end and stay with it.
- Bending the outer bends the same way as the center. The outer bends go the other way, which is why the stick is rolled 180° after the center bend.
- Rolling by anything other than 180°. Any other roll puts the bends in different planes and gives you a dog leg.
- Lining up with the degree lines. The rim notch and the arrow set the marks. The degree lines only show how far the bend has gone.
- Over-bending the outer bends. Each outer bend is half the center angle. Stop at 22-1/2°.
- Forgetting the shrink when you cut. The stick comes up shorter past the saddle by the same shrink. Allow for it before you cut.
Keep the number of bends between pull points within the limit for the conduit you are installing. The rule is in 358.24 for EMT.
Questions
Why is the center bend made first?
The center bend sets the height of the saddle. With it in the stick, the two outer bends only bring the conduit back to its original line, so they are easier to place and to check against the obstruction.
Can I use a 60° center bend?
Yes, and it makes a shorter, steeper saddle. The outer bends are then 30°. The maker's numbers change: the shrink is 1/4″ per inch of saddle height, and each outer mark sits 2 × the saddle height from the center mark.
When should I use a four-point saddle instead?
Use a four-point saddle when the obstruction is wide, such as a large pipe or a duct. See How to bend a four-point saddle. For the arithmetic behind the marks, see the three-point saddle formula. More guides are in the guides index.
Check against your own bender. The numbers on this page use the values the maker publishes for the bender named; where the maker prints none, they are worked out from the geometry of the bend. Shoes wear, conduit varies and springback differs, so make one test bend and adjust before you bend the run.