How to bend a 90 degree stub-up in EMT conduit
How to bend · Published November 8, 2026
Mark for a 12″ stub, 1/2″ EMT
7″
Measure it from the end of the stick on a Klein 56203 and line it up with the arrow.
Bender values: Klein Tools Conduit Bender Guide (56203–56207, 56211), page 2.
Your own marks
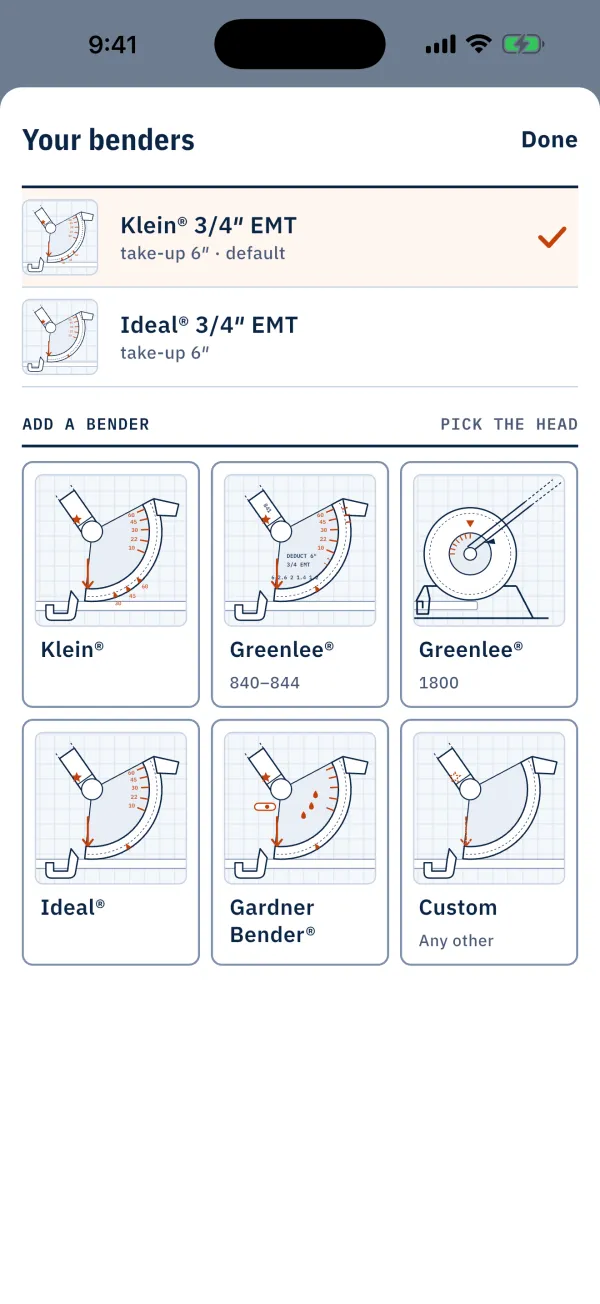
Bendbook draws every mark for the bender in your hand, numbered in bending order. Offline.
To bend a 90 in conduit, subtract your bender's take-up from the stub height you need. Measure that distance from the end of the stick and mark it. Line the mark up with the arrow on the bender head and bend to 90°.
Why you subtract the take-up
The stub height is measured from the end of the conduit to the back of the bend. The bend itself uses up part of that height, because the stick curves around the shoe instead of turning a sharp corner. That amount is the take-up, or deduct. If you mark the full stub height, the finished stub comes out too tall by the take-up.
Take-up belongs to the bender and the conduit size. On a Klein 56203 with 1/2 inch EMT the maker publishes 5″. Look the figure up for the bender in your hand. Do not borrow it from a different size or a different bender.
Worked example: 12 inch stub on a Klein 56203
Here is a 12 inch stub-up in 1/2 inch EMT on a Klein 56203.
- Stub height
- 12″
| Mark | From the end | Line up with | Bend | Direction |
|---|---|---|---|---|
| 1 | 7″ | Arrow | 90° | First bend |
- Take-up
- 5″
Bender values: Klein Tools Conduit Bender Guide (56203–56207, 56211), page 2.
Calculate this bend in Bendbook. Pick your bender, type your measurements, and every mark is drawn on the stick for you.
The mark is closer to the end than the stub height. That is the take-up at work: the bend starts at the arrow and climbs around the shoe, so the back of the finished stub lands the full 12 inches from the end. The 90° line on the head only tells you when the bend is done.
A Greenlee 840A on 1/2 inch EMT has a published take-up of 5″, so on that bender the mark lands in the same place. That is not a rule. Benders from different makers and models can differ, so check the figure for your own bender before you mark anything.
Steps
- Decide the stub height you need, measured from the end of the conduit to the back of the bend.
- Find the take-up for your bender and conduit size. On a Klein 56203 with 1/2 inch EMT it is 5″.
- Subtract the take-up from the stub height. That is your mark distance.
- Measure the mark distance from the end of the stick that will become the stub. Mark it with a line you can see from above.
- Set the bender on the stick with the mark under the arrow. Check your bender's instructions for which way the hook faces the stub end.
- Check that the mark has not slid. Keep your foot on the bender's foot pedal and pull the handle with steady pressure.
- Bend until the stub reads 90° on the head.
- Take the stick out and check the bend with a level or a square.
- Measure the stub from the end to the back of the bend. It should be the height you planned.
The stub rises from the end you measured from. If the stub is on the wrong end of the stick, you measured from the wrong end.
Mistakes that cost a stick
- Marking the full stub height. Without the deduct, the stub is tall by the take-up. Always subtract first.
- Measuring from the wrong end. Decide which end becomes the stub before you put the tape on. A mark made from the other end gives a stub on the wrong side.
- Using the wrong take-up. Take-up changes with conduit size and with bender model. Do not use a figure for one size on a bender for another size.
- Lining the mark up with a degree line. The mark goes under the arrow. The degree lines only show how far the bend has gone.
- Over-bending. Stop at 90° and check with a level. If the stub springs back short of square, give it a little more. A stub pulled past square is hard to bring back clean.
- Letting the conduit shift in the shoe. Keep your foot on the pedal and watch that the mark stays at the arrow as pressure comes on.
Questions
What is take-up on a conduit bender?
Take-up is the amount of conduit the bend uses up in the stub height. You subtract it from the stub height you want. That puts the mark in the right place so the finished stub comes out at the height you need.
Does every bender have the same take-up?
Not necessarily. Take-up depends on the bender and on the conduit size and type. The Klein and Greenlee benders above agree on 1/2 inch EMT, but do not assume yours does. Use the figure for the bender you are holding. The hand bender take-up chart lists them side by side.
Where does the mark line up on the bender head?
For a stub-up, the mark lines up with the arrow. Do not line it up with the degree lines. Those show how far you have bent, not where the bend starts. See conduit bender markings for the other marks on the head.
What if I need to move around an obstacle?
A single stub is the starting point. For a single bend off a wall, see how to bend a kick. To cross a wide obstacle, see how to bend a four-point saddle. Browse every page on the guides index.
Check against your own bender. The numbers on this page use the values the maker publishes for the bender named; where the maker prints none, they are worked out from the geometry of the bend. Shoes wear, conduit varies and springback differs, so make one test bend and adjust before you bend the run.