How to bend a back-to-back 90 in EMT
How to bend · Published November 17, 2026
Second mark from the end, 1/2″ EMT
52″
First stub plus outside-to-outside, no take-up taken off. Measure from the same end and line this mark up with the star.
Bender values: Greenlee Use Guide, Site-Rite 840–844 hand benders, page 4.
Your own marks
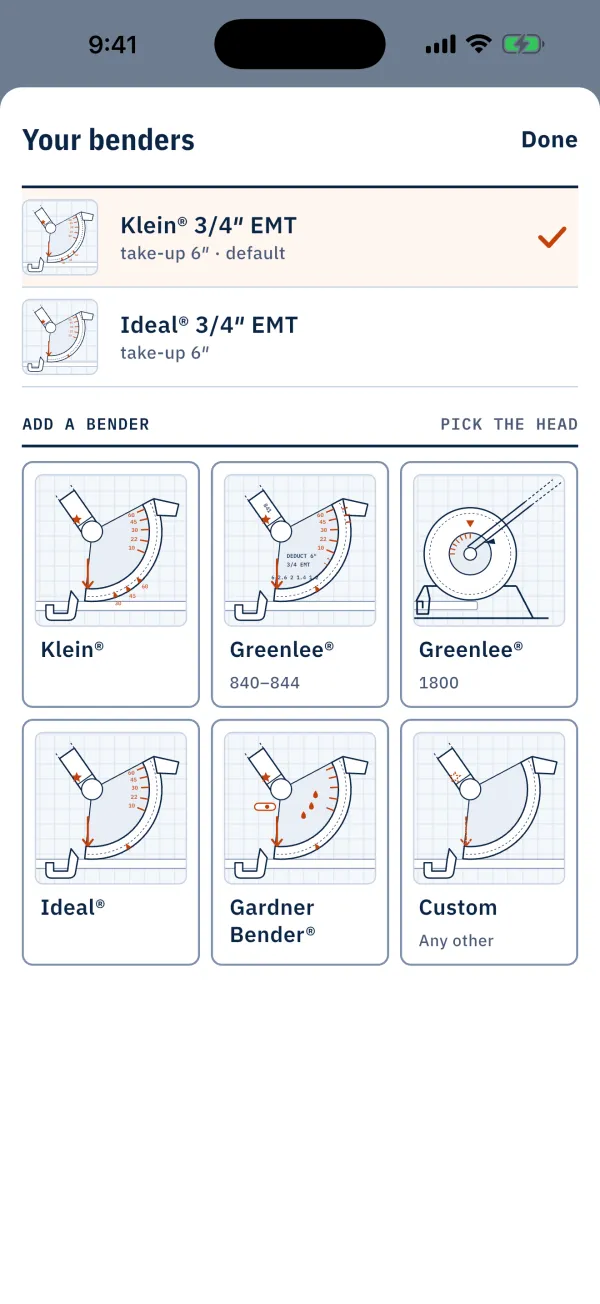
Bendbook draws every mark for the bender in your hand, numbered in bending order. Offline.
A back-to-back 90 is two 90s on one stick with a set distance between the backs of the bends. You bend the first 90 with the first mark on the arrow, then bend the second 90 with the second mark on the star. The star is there so the second bend lands the right distance from the first.
The example below is a 12 inch first stub with 40 inches outside to outside, on a Greenlee 840A in 1/2 EMT, using the values printed in the maker's guide.
- First stub height
- 12″
- Back of the first 90 to the back of the second
- 40″
| Mark | From the end | Line up with | Bend | Direction |
|---|---|---|---|---|
| 1 | 7″ | Arrow | 90° | First bend |
| 2 | 52″ | Star | 90° | Same way as bend 1 |
- Take-up
- 5″
- Gain
- 3-5/8″
Bender values: Greenlee Use Guide, Site-Rite 840–844 hand benders, page 4.
Calculate this bend in Bendbook. Pick your bender, type your measurements, and every mark is drawn on the stick for you.
Outside to outside is measured between the backs of the two bends, the way you would measure a finished U with a tape. Both marks are measured from the same end of the stick.
Steps
- Decide your first stub height and your outside-to-outside distance. The example uses a 12 inch first stub and 40 inches outside to outside.
- Find the take-up for your bender. For this bender and size the maker publishes 5″. If you use another bender, look up its own take-up: the bender take-up chart lists them by conduit and size.
- Subtract the take-up from the first stub height. That is the first mark, measured from the end of the stick. In the example it is 7″.
- Put the first mark on the arrow, with the end you measured from pointing the way the stub should rise.
- Bend 90°. Stop when the conduit is square to the floor and check it with a level or a square.
- Find the second mark. The back of the first 90 sits at the first stub height from the end, so measure your outside-to-outside distance from there. That is the same as adding the outside-to-outside distance to the first stub height. The take-up is not part of this. In the example it is 52″.
- Mark it from the same end of the stick you measured the first mark from.
- Before you pull, lay the stick against the bender and check that the second bend will turn the same way as the first. Both legs must end up pointing the same direction, with the two bends in one plane.
- Put the second mark on the star, not the arrow.
- Bend 90°. Do not roll the stick between the bends. Rolling is for offsets and rolling offsets, not for a U.
- Lay the finished stick on a flat floor. Both legs should stand up, and the tape should read your outside-to-outside distance across the backs.
For more on the arrow, the star and the rim notch, see conduit bender markings. If you want the stub itself explained in more detail, see how to bend a 90 degree stub-up.
Mistakes that cost a stick
- Measuring from the wrong end. Both marks come from the same end of the stick. If you measure the second mark from the far end, the bends are the wrong distance apart and you cannot fix it.
- Using the arrow for the second bend. The second 90 goes on the star. On the arrow, the distance between the backs comes out wrong.
- Taking the take-up off the second mark. The take-up comes off once, for the first mark only. The second mark is the first stub plus the outside-to-outside distance, with nothing subtracted.
- Rolling the stick. Turning the conduit between the two bends gives a dog leg, with the legs pointing in different planes. Check the stick against the bender before you pull the second bend.
- Taking the take-up from another bender. Take-up is different on every bender and every conduit size, so a value for another size does not work on a 1/2 EMT bender. Check the figure for the bender in your hand, and dry-fit the first bend if you have any doubt.
- Over-bending. Stop at square and check. A 90 that has gone past square pulls the second leg out of line with the first.
Questions
Why does the second 90 go on the star?
The star sits on the bender head at a different place from the arrow. That is what puts the second bend the right distance from the first, so the backs of the two bends end up the set distance apart. Check where the star is on your own bender before you rely on it.
Can I use a different bender?
Yes, but the first mark changes, because the take-up is different on each bender. Use the take-up for your own bender, and compare benders only when they are for the same conduit and size. The Greenlee bender chart and the 1/2 EMT take-up guide list what the makers publish.
Do two 90s count toward the limit between pull points?
Yes. Every bend in a run counts toward the 360° total between pull points. For EMT that is section 358.24, and a back-to-back 90 uses two 90s of it.
Does the first stub have to be the same height as the second leg?
No. The first stub sets the first mark, and the outside-to-outside distance sets the second mark. The length of the second leg is whatever you leave past the second bend when you cut the stick.
Check against your own bender. The numbers on this page use the values the maker publishes for the bender named; where the maker prints none, they are worked out from the geometry of the bend. Shoes wear, conduit varies and springback differs, so make one test bend and adjust before you bend the run.