Three-point saddle formula: center mark, outer marks, shrink
How to bend · Published November 8, 2026
Center mark to each outer mark
5″
A 2 inch saddle with a 45° center bend on a Klein 56203, 1/2 inch EMT: the height × the multiplier.
Your own marks
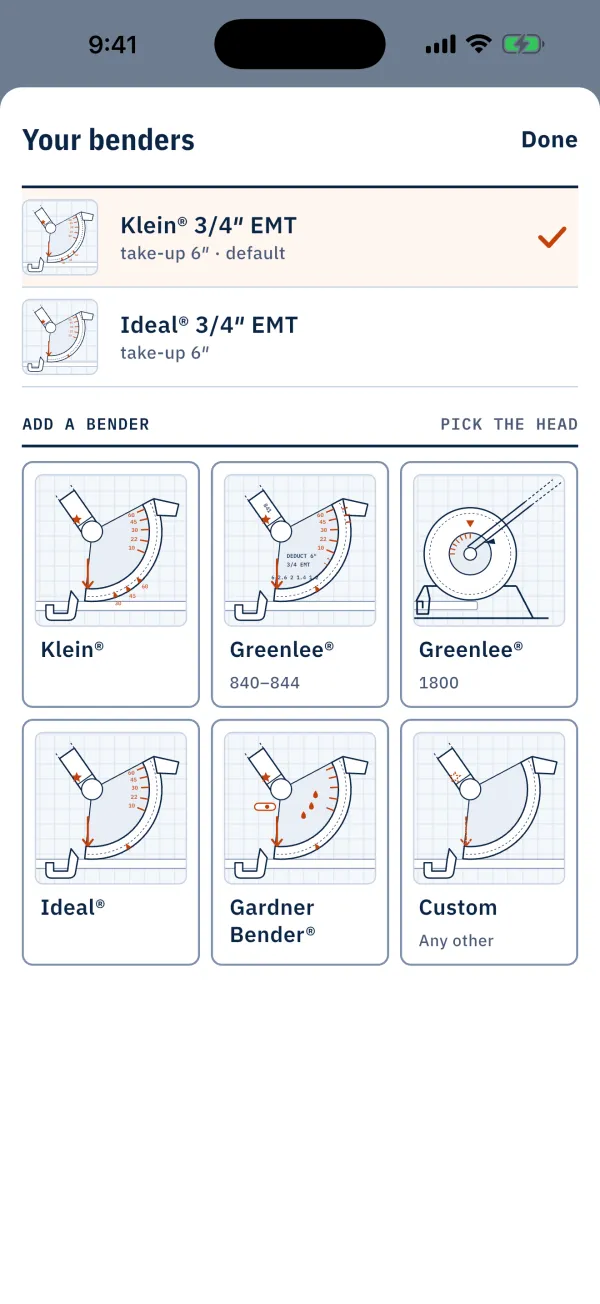
Bendbook draws every mark for the bender in your hand, numbered in bending order. Offline.
The 3-point saddle formula is two lines. The center mark goes at the distance to the center of the obstacle, plus the shrink per inch × the saddle height. Each outer mark goes the multiplier × the saddle height either side of the center mark. The outer bends are each half the center angle, the other way. Every figure below is the maker's printed value for a Klein 56203 on 1/2 inch EMT.
The saddle constants
Each constant belongs to the center angle you pick. Change the angle and they all change. These are saddle constants, not the offset multipliers, so do not borrow those.
- Multiplier. The saddle height × the multiplier is the distance from the center mark to each outer mark. With a 45° center bend it is 2.5. With a 60° center bend it is 2.
- Shrink per inch of height. The saddle height × this figure is the shrink, which you add to the center distance. With a 45° center bend it is 3/16″. With a 60° center bend it is 1/4″.
- Outer angle. Each outer bend is half the center angle. A 45° center bend gets 22-1/2° outer bends. A 60° center bend gets 30° outer bends.
Worked example: 2 inch saddle, 45° center
Here is a 2 inch saddle on 1/2 inch EMT with a 45° center bend. The center of the obstacle is 24 inches from the end of the stick.
- Obstacle height
- 2″
- Center bend angle
- 45°
- Distance to the center of the obstacle
- 24″
| Mark | From the end | Line up with | Bend | Direction |
|---|---|---|---|---|
| 1 | 24-3/8″ | Rim notch | 45° | First bend |
| 2 | 19-3/8″ | Arrow | 22-1/2° | Roll the conduit 180° |
| 3 | 29-3/8″ | Arrow | 22-1/2° | Same way as bend 2 |
- Multiplier for the outer marks
- 2.5
- Shrink per inch of saddle height
- 3/16″
- Shrink, added to the center distance
- 3/8″
- Center mark to each outer mark
- 5″
Calculate this bend in Bendbook. Pick your bender, type your measurements, and every mark is drawn on the stick for you.
The center mark sits past the 24 inches you measured. The saddle pulls the stick in as it bends, and the shrink puts that length back, so the top of the hump lands over the center of the obstacle. Both outer marks are measured from the center mark, not from the end, so they move with it.
The center mark goes to the rim notch. The two outer marks go to the arrow. The same shrink also leaves the run past the saddle that much shorter, which matters when you cut the stick.
Steeper center angle
A 60° center bend puts the outer marks closer to the center mark and takes more shrink per inch of height. The saddle comes out shorter and steeper.
- Obstacle height
- 2″
- Center bend angle
- 60°
- Distance to the center of the obstacle
- 24″
| Mark | From the end | Line up with | Bend | Direction |
|---|---|---|---|---|
| 1 | 24-1/2″ | Rim notch | 60° | First bend |
| 2 | 20-1/2″ | Arrow | 30° | Roll the conduit 180° |
| 3 | 28-1/2″ | Arrow | 30° | Same way as bend 2 |
- Multiplier for the outer marks
- 2
- Shrink per inch of saddle height
- 1/4″
- Shrink, added to the center distance
- 1/2″
- Center mark to each outer mark
- 4″
The bends overlap on this bender: leave more room between them.
When the example warns that the bends overlap, the outer marks sit too close to the center for this bender. Pick a shallower center angle. If the obstacle is wide, see the 4-point saddle.
Steps
- Measure from the end of the stick to the center of the obstacle. This is your center distance.
- Measure the height of the obstacle. This is your saddle height.
- Pick the center angle. The constants below are for a 45° center on a Klein 56203.
- Work out the center mark. Multiply the saddle height by 3/16″ and add it to the center distance. Mark the stick there, measured from the same end.
- Work out the outer marks. Multiply the saddle height by 2.5. Mark that distance on each side of the center mark.
- Line the center mark up with the rim notch and bend 45°.
- Take the stick out and roll it 180°, so the center bend points the other way. Keep it in the same plane.
- Slide the stick to the outer mark nearest the end you measured from. Line it up with the arrow and bend 22-1/2°.
- Take the stick out and turn it end for end, so the center bend sits on the same side of the head as it did for the last bend. Keep the center bend pointing the same way.
- Line the last mark up with the arrow and bend 22-1/2°.
- Lay the stick on the floor and check that all three bends sit flat in one plane. Hold it up to the obstacle before you fasten it.
For where the arrow and rim notch sit on your bender, see conduit bender markings.
Mistakes that cost a stick
- Marking at the measured center. Add the shrink first. Bending at the raw distance puts the saddle short of the obstacle.
- Using offset constants. A saddle has its own multiplier and shrink per inch. The offset figures for the same angle are different and put the outer marks in the wrong place.
- Measuring the outer marks from the end. Each outer mark is measured from the center mark.
- Outer bends at the full angle. Each outer bend is half the center angle. A full-angle outer bend lifts the conduit too far.
- Rolling any amount other than 180°. Anything else puts the bends in different planes and gives a dog leg.
- Not turning the stick end for end for the last bend. Without it, the last bend forms on the wrong side of its mark.
- Using another bender's constants. Multipliers and shrink belong to one bender and one conduit size. Check them against the bender in your hand.
Questions
Why is each outer bend half the center angle?
The center bend lifts the conduit over the obstacle. The two outer bends bring it back to its original line. Together they must undo the center bend, so each one is half.
Do I add or subtract shrink on a saddle?
Add it. Measuring from the end toward the obstacle, the shrink goes onto the center distance, so the center mark sits past the spot you measured. The stick also comes up shorter past the saddle by the same shrink, which matters when you cut. See the shrink chart.
Which center angle should I use?
A 45° center is the usual choice. A 60° center gives a shorter saddle but takes more shrink per inch of height, and the bends sit closer together. If the bends overlap on your bender, go back to 45°.
Where can I see the full steps for the bend itself?
How to bend a three-point saddle covers the bend start to finish. For your bender's own values, see the Klein bender chart.
Check against your own bender. The numbers on this page use the values the maker publishes for the bender named; where the maker prints none, they are worked out from the geometry of the bend. Shoes wear, conduit varies and springback differs, so make one test bend and adjust before you bend the run.