The offset multiplier for 30 degrees
Reference · Published November 8, 2026
Offset multiplier at 30°
2
Multiply the offset depth by this to get the distance between bends, as Klein prints it.
Bender values: Klein Tools Conduit Bender Guide (56203–56207, 56211), page 6.
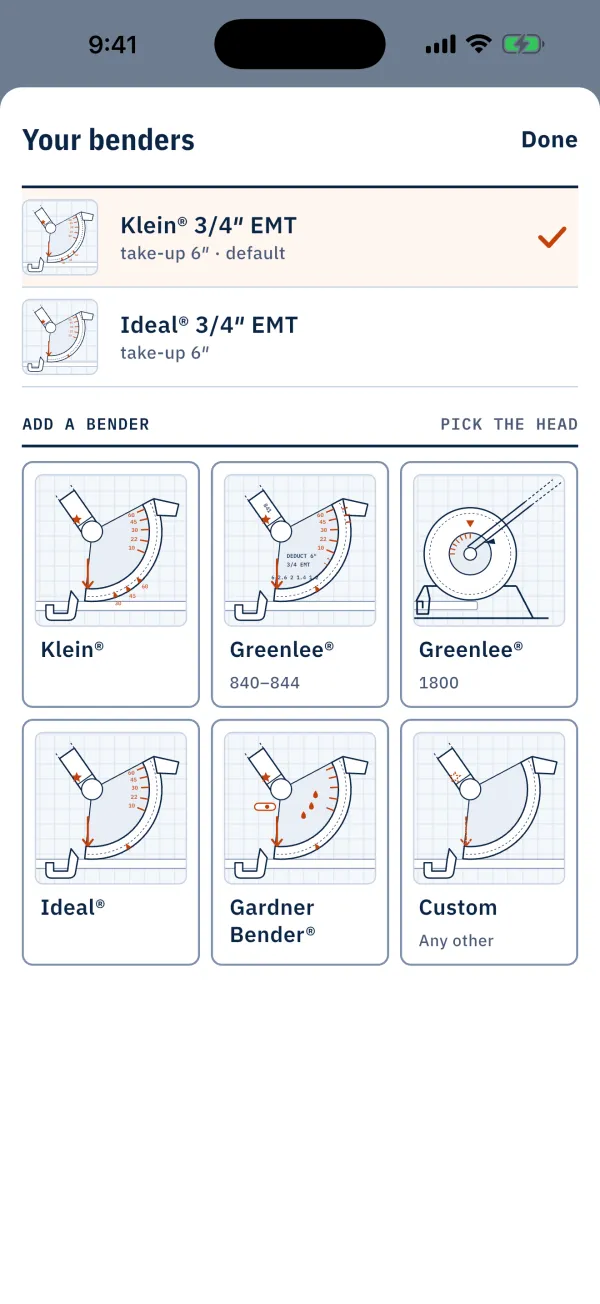
Your own marks
Bendbook draws every mark for the bender in your hand, numbered in bending order. Offline.
The 30° offset multiplier is 2, as printed in the maker's guide. Multiply the depth of the offset by it to get the distance between your two marks. Shrink at 30° is 1/4″ for every inch of depth.
Printed and exact
The printed figure is the one in the guide that comes with the bender, and it is what you check against the bender in hand. The exact multiplier is the cosecant of the angle.
At 30° the two agree: the exact multiplier is 2 and the exact shrink is 1/4″ per inch. There is nothing to correct for between the guide and the trigonometry, which is one reason 30° is the easiest offset to work in your head.
An offset does not use take-up. Take-up is for stubs and 90s: see the 90 degree stub-up.
Worked example
A 5 inch offset at 30° on a Klein 56203 for 1/2 inch EMT, measured from the end of the stick:
- Offset depth
- 5″
- Bend angle
- 30°
| Mark | From the end | Line up with | Bend | Direction |
|---|---|---|---|---|
| 1 | 10″ | Arrow | 30° | First bend |
| 2 | 20″ | Arrow | 30° | Roll the conduit 180° |
- Multiplier
- 2
- Shrink per inch of depth
- 1/4″
- Distance between bends
- 10″
- Shrink
- 1-1/4″
Bender values: Klein Tools Conduit Bender Guide (56203–56207, 56211), page 6.
Calculate this bend in Bendbook. Pick your bender, type your measurements, and every mark is drawn on the stick for you.
Both marks go on the arrow, and the one nearest the end is bent first.
What shrink does to your marks
Shrink is the length the offset takes out of the stick. What it does depends on which way you are working.
- Working away from a fixed end: shrink does not move your marks. It makes the run past the offset shorter, so allow for it when you cut the stick.
- Working toward a fixed point: an obstacle or a box you are bending into. The marks must put the full depth at that point, so shrink moves them.
Here is the same offset with the obstacle 36 inches from the end, measured to the far bend:
- Offset depth
- 5″
- Bend angle
- 30°
- Distance to the obstacle
- 36″
| Mark | From the end | Line up with | Bend | Direction |
|---|---|---|---|---|
| 1 | 37-1/4″ | Arrow | 30° | First bend |
| 2 | 27-1/4″ | Arrow | 30° | Roll the conduit 180° |
- Multiplier
- 2
- Shrink per inch of depth
- 1/4″
- Distance between bends
- 10″
- Shrink
- 1-1/4″
Bender values: Klein Tools Conduit Bender Guide (56203–56207, 56211), page 6.
The far mark is the obstacle distance plus the shrink for the whole offset. The near mark is the distance between bends back toward the end. Bend the far mark first. The shrink is already in the far mark, so do not add it again.
Steps
- Measure the depth of the offset.
- Multiply the depth by 2. That is the distance between the marks.
- Working away from a fixed end, make the first mark where the offset should start, measured from that end. Make the second mark the distance between bends past it.
- Working toward an obstacle, multiply the depth by 1/4″ and add it to the distance to the obstacle. That is the far mark. Make the near mark the distance between bends back toward the end.
- Before the first bend, check which way the offset has to kick to clear the obstacle.
- Line the mark you bend first up with the arrow and bend to 30°. The degree lines only show how far you have gone.
- Take the stick out and roll it exactly half a turn, 180°.
- Line the other mark up with the arrow and bend to 30°.
- Lay the stick on a flat floor. Check that both legs lie flat and the depth is right.
Mistakes that cost a stick
- Dog leg. Rolling anything other than half a turn between bends twists the offset out of line.
- Measuring from the wrong end. Marks measured from the wrong end put the offset in the wrong place.
- Forgetting shrink toward an obstacle. The offset ends up short of the point it has to reach.
- Over-bending. Stop at 30°.
- Lining a mark up with a degree line. Both marks go on the arrow.
Questions
What is the multiplier for a 30 degree offset?
It is 2, printed and exact. Multiply the depth of the offset by it to get the distance between bends.
How much does a 30 degree offset shrink?
1/4″ for every inch of depth. Multiply that by the depth to get the shrink for the whole offset.
Why use 30 degrees?
A 30° offset is longer and gentler than a 45°, so it is easier on the wire being pulled. It needs more room along the run. If you are short of room, a 45° offset is shorter: see every angle side by side.
What if I have to cross an obstacle rather than move around it?
An offset moves the conduit over to a new line. To go over a pipe and come back to the same line, use a saddle. See the three-point saddle and the four-point saddle. The guides index lists the rest.
Check against your own bender. The numbers on this page use the values the maker publishes for the bender named; where the maker prints none, they are worked out from the geometry of the bend. Shoes wear, conduit varies and springback differs, so make one test bend and adjust before you bend the run.