How to bend matching parallel offsets in conduit
How to bend · Published November 8, 2026
Mark shift per conduit
1/2″
Matching 6 inch offsets at 30°, conduits 2 inches apart, on a Greenlee 840A: the spacing × the shrink per inch.
Bender values: Greenlee Use Guide, Site-Rite 840–844 hand benders, page 9; Greenlee Use Guide, Site-Rite 840–844 hand benders, page 4.
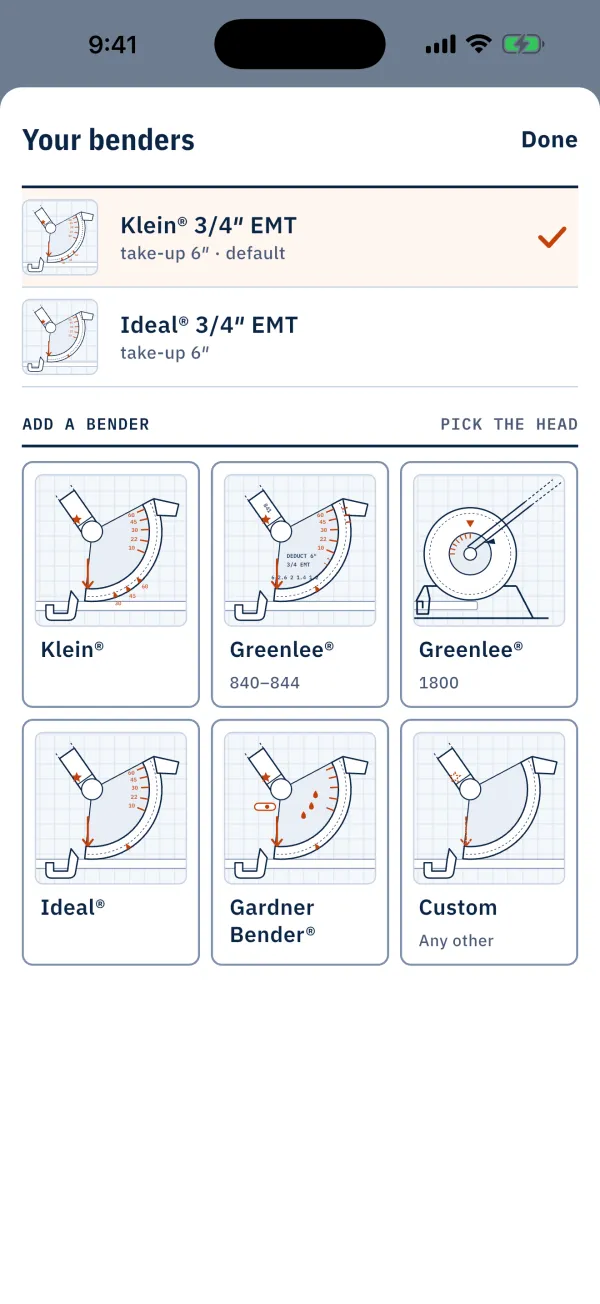
Your own marks
Bendbook draws every mark for the bender in your hand, numbered in bending order. Offline.
Parallel offsets are a rack of conduits that each jog over by the same depth and stay evenly spaced the whole way. Bend the first conduit as a normal offset. On each conduit after it, move both marks one mark shift further from the end you measure from. The mark shift is the center-to-center spacing × the shrink per inch for your bend angle.
Why the marks shift
Each conduit in the rack sits further around the bend than the one before it. If you put every offset at the same marks, the slanted runs between the bends close up on each other and the rack pinches. Moving the marks keeps the bends nested so the gap stays the same through the offset.
At 30° on a Greenlee 840A with 1/2 inch EMT, the shrink per inch is 1/4″. Times a 2 inch spacing, that gives a mark shift of 1/2″ per conduit. A wider spacing gives a bigger shift. The distance between the two bends does not change: it is the depth × the multiplier, 2 at 30°, on every conduit.
Here are three conduits, 2 inches apart, each with a 6 inch offset at 30°:
- Conduits
- 3
- Center-to-center spacing
- 2″
- Offset depth
- 6″
- Bend angle
- 30°
| Mark | Conduit | From the end | Line up with | Bend | Direction |
|---|---|---|---|---|---|
| 1 | 1 | 12″ | Arrow | 30° | First bend |
| 2 | 1 | 24″ | Arrow | 30° | Roll the conduit 180° |
| 1 | 2 | 12-1/2″ | Arrow | 30° | Same way as bend 1 |
| 2 | 2 | 24-1/2″ | Arrow | 30° | Roll the conduit 180° |
| 1 | 3 | 13″ | Arrow | 30° | Same way as bend 1 |
| 2 | 3 | 25″ | Arrow | 30° | Roll the conduit 180° |
- Multiplier
- 2
- Shrink per inch of depth
- 1/4″
- Distance between bends
- 12″
- Shrink
- 1-1/2″
- Mark shift per conduit
- 1/2″
- Rack width
- 4″
- Gain
- 1/8″
Bender values: Greenlee Use Guide, Site-Rite 840–844 hand benders, page 9; Greenlee Use Guide, Site-Rite 840–844 hand benders, page 4.
Calculate this bend in Bendbook. Pick your bender, type your measurements, and every mark is drawn on the stick for you.
The table lists the conduits in rack order, with the two marks of each. Every mark goes under the arrow.
Which way the marks shift
Measure every conduit from the same end, the end before the offset. The conduit on the inside of the first bend gets the marks nearest that end. Each conduit further out moves both marks away from that end by one more mark shift.
If you get it backward, the ends of the rack still look right, but the gap closes up in the slanted run. Hold the finished sticks side by side in the order they will be installed. They should nest with the same gap all along the offset.
Working toward a box or a wall
Working away from a fixed end, shrink does not move your marks. It only makes the run past the offset shorter, so it matters when you cut each stick.
Working toward a fixed point, such as a box or a wall, the marks must put the full depth at that point. Measure from the end to the obstacle. The first mark goes at that distance plus the offset's shrink, and you bend it first. The second mark goes the distance between bends back toward the end. Each conduit further out shifts both marks the same way as before.
- Conduits
- 3
- Center-to-center spacing
- 2″
- Offset depth
- 6″
- Bend angle
- 30°
- Distance to the obstacle
- 24″
| Mark | Conduit | From the end | Line up with | Bend | Direction |
|---|---|---|---|---|---|
| 1 | 1 | 25-1/2″ | Arrow | 30° | First bend |
| 2 | 1 | 13-1/2″ | Arrow | 30° | Roll the conduit 180° |
| 1 | 2 | 26″ | Arrow | 30° | Same way as bend 1 |
| 2 | 2 | 14″ | Arrow | 30° | Roll the conduit 180° |
| 1 | 3 | 26-1/2″ | Arrow | 30° | Same way as bend 1 |
| 2 | 3 | 14-1/2″ | Arrow | 30° | Roll the conduit 180° |
- Multiplier
- 2
- Shrink per inch of depth
- 1/4″
- Distance between bends
- 12″
- Shrink
- 1-1/2″
- Mark shift per conduit
- 1/2″
- Rack width
- 4″
- Gain
- 1/8″
Bender values: Greenlee Use Guide, Site-Rite 840–844 hand benders, page 9; Greenlee Use Guide, Site-Rite 840–844 hand benders, page 4.
For the shrink at other angles and depths, see the conduit shrink chart. For the 30° multiplier itself, see the offset multiplier for 30 degrees.
Steps
- Pick the end you measure from. Use that same end on every conduit.
- Work out the distance between bends: the depth × the multiplier. At 30° on a Greenlee 840A it is 2.
- Work out the mark shift: the spacing × the shrink per inch. At 30° on this bender it is 1/4″ per inch of spacing.
- Mark the inside conduit as a normal offset: the first mark, then the second mark the distance between bends further on.
- Mark the next conduit with both marks moved one mark shift away from the end. Add one more shift for each conduit after it.
- Line the first mark up with the arrow and bend 30°.
- Roll the stick exactly half a turn (180°). Anything else gives a dog leg.
- Line the second mark up with the arrow and bend 30°.
- Lay the stick on a flat floor. Both ends should lie flat in one plane.
- Bend the next conduit the same way and lay it beside the first. The gap should stay the same along the slanted run.
- Repeat for each conduit, and check the whole rack on the floor before you hang it.
Marks that work for one bender do not carry over to another. Check the multiplier and shrink against the bender in your hand.
Mistakes that cost a stick
- Rolling less or more than half a turn. The offset twists and the stick lies crooked on the floor. Roll exactly 180°.
- Shifting the marks the wrong way. The gap narrows in the slanted run. Check the spacing across the offset, not just at the ends.
- Measuring from a different end on one conduit. That offset lands out of line with the rest of the rack. Pick one end and keep it.
- Forgetting shrink when you cut. If you cut to length before bending, the offset pulls the end short.
- Over-bending past the angle. Stop at 30°. Over-bending one conduit makes its offset deeper than the rest and throws off the spacing.
Questions
Do parallel offsets use the same distance between bends on every conduit?
Yes. The offset depth and angle are the same, so the distance between bends does not change. Only the position of both marks moves from one conduit to the next.
How do I bend parallel offsets that go around a corner?
That is a different bend. A rack that turns a corner is a rack of 90° bends, and each conduit needs its own stub. See how to bend a 90 degree stub-up for the single 90.
Can I use a different angle for the offsets?
Yes. The multiplier and the shrink per inch change with the angle, so the distance between bends and the mark shift change with it. Keep the same angle on every conduit in the rack. Look the angle up for your own bender, for example in the Greenlee bender chart.
Does take-up matter for parallel offsets?
Not for the offset bends. Take-up applies to stubs and 90° bends. See the hand bender take-up chart if you bend a 90 in the same run.
Check against your own bender. The numbers on this page use the values the maker publishes for the bender named; where the maker prints none, they are worked out from the geometry of the bend. Shoes wear, conduit varies and springback differs, so make one test bend and adjust before you bend the run.